
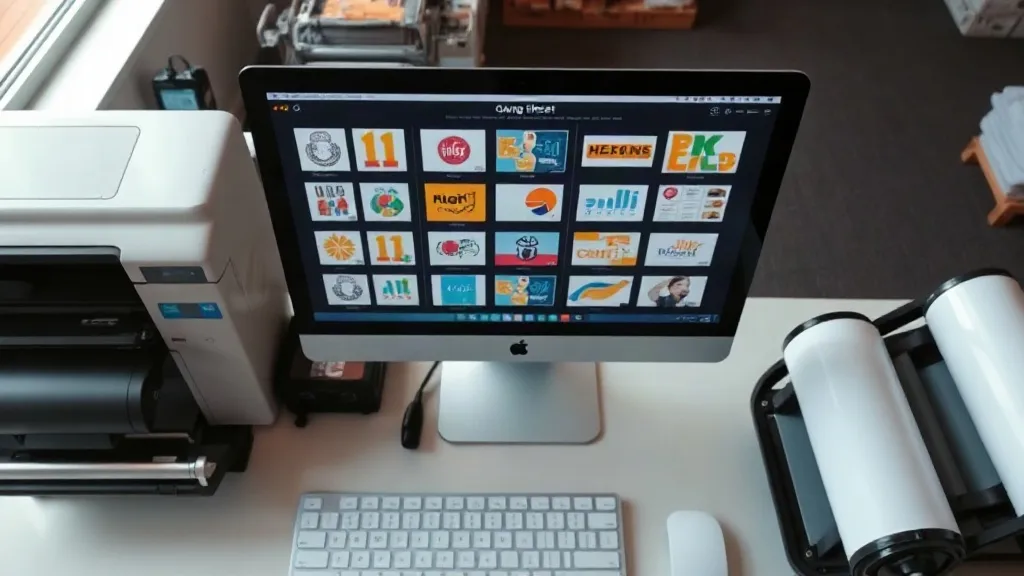
When your shop handles a variety of small orders, building a DTF Gangsheet that combines different designs can feel like solving a puzzle. You want to fit everything onto one sheet without wasting film, but you also need to ensure each transfer prints cleanly and consistently. The good news is that with a few strategic layout techniques, you can turn mixed orders into a streamlined process that saves time and money.
Why Mixed Orders Demand a Different Approach
Most DTF tutorials focus on gang sheets filled with identical designs or a single large print. But real-world orders often include a mix of sizes, colors, and quantities. Maybe you have ten small logos for one client, five medium graphics for another, and a few one-off names for a team order. Combining these onto a single sheet requires careful planning to avoid color shifts, misalignment, and excessive waste.
The key is to treat each design as a modular piece that can be rotated, grouped, or spaced to maximize film usage while maintaining print integrity. Unlike uniform gang sheets, mixed orders force you to balance efficiency with the risk of errors. A poorly planned layout can lead to wasted film, reprints, and missed deadlines.
Core Principles for Smart Layouts
Before diving into specific techniques, it's important to understand the fundamental rules that govern any successful DTF Gangsheet layout. These principles apply whether you're printing two designs or twenty.
1. Prioritize Color Consistency
DTF printing uses a single set of CMYK inks, so colors are consistent across the sheet only if you manage your color profiles correctly. When mixing designs from different sources, ensure all files use the same color mode (RGB) and are properly converted to the printer's profile. Avoid placing a design with heavy ink coverage next to one with light coverage without considering how the printer lays down ink. In practice, grouping designs with similar color palettes can reduce ink fluctuations and make the final output more predictable.
2. Respect Minimum Spacing
Every design needs a small gap between it and its neighbors to prevent ink bleeding and ensure clean cutting. A common rule is to leave at least 0.125 inches (3 mm) of space around each design. However, for designs with fine details or gradients, increase this to 0.25 inches (6 mm). This spacing also makes weeding easier and reduces the risk of accidental cuts into adjacent transfers.
3. Use Nesting Software Effectively
Most RIP software includes nesting tools that automatically arrange designs to minimize film usage. While these tools are helpful, they aren't perfect. Always review the auto-nested layout and adjust manually if needed. For mixed orders, you might need to rotate designs or group similar sizes together to achieve a tighter fit. Remember that nesting algorithms prioritize film savings over print quality, so double-check that critical designs aren't placed in high-stress areas like the edges of the sheet.
Step-by-Step Layout Strategy for Mixed Orders
Now let's walk through a practical workflow for arranging a mixed-order DTF Gangsheet.
Step 1: Sort Designs by Size and Color
Start by categorizing your designs into small, medium, and large groups. Then, within each group, sort by dominant color. This helps you create clusters of similar items that can be placed together, reducing color variation across the sheet. For example, place all red-dominant designs in one area and blue-dominant in another.
Step 2: Create a Template
Use your design software to create a template of the film size you'll be using. Common widths are 13, 17, and 22 inches. Draw a rectangle representing the printable area and add guides for spacing. This template becomes your canvas for arranging designs.
Step 3: Place Large Designs First
Large designs are less flexible, so position them first. Place them in corners or along edges, leaving space for smaller items to fill the gaps. Avoid placing large designs in the center unless necessary, as this can create awkward empty spaces around them.
Step 4: Fill Gaps with Small Designs
Once large designs are placed, use smaller designs to fill the remaining space. Rotate them as needed to fit into tight spots. Group similar small designs together to maintain color consistency and make cutting easier.
Step 5: Check Spacing and Add Cut Lines
After arranging all designs, zoom in and verify that the minimum spacing is respected everywhere. Add cut lines (if your workflow requires them) around each design, ensuring they don't overlap. This step is crucial for avoiding misprints and simplifying the cutting process.
Common Pitfalls and How to Avoid Them
Even experienced printers can fall into traps when building mixed-order gang sheets. Here are a few to watch out for.
- Overcrowding: Trying to squeeze too many designs onto one sheet can lead to insufficient spacing and print defects. It's better to use an extra sheet than to risk reprints.
- Ignoring grain direction: DTF film has a grain, and placing designs perpendicular to it can affect ink absorption. Always align designs with the film's grain for best results.
- Forgetting about shrinkage: Some films shrink slightly during curing. Leave a little extra space around designs that will be pressed at high temperatures.
Maximizing Efficiency with Grouping Techniques
Grouping similar designs not only saves space but also streamlines the cutting and pressing stages. For instance, if you have multiple orders for the same client, group their designs together on the sheet. This makes it easier to separate them after printing and reduces the chance of mixing up orders.
Another technique is to create "kits" within the sheet. If a client orders a set of shirts with different designs, arrange those designs in a logical sequence that mirrors the order. This simplifies packing and reduces errors.
Color Management for Mixed Designs
When combining designs from various sources, color consistency is paramount. Ensure all files are in the same color space and have been proofed on your printer. If you notice one design printing differently, check its color profile and adjust as needed. Sometimes, simply re-saving the file with the correct profile can fix discrepancies.
Additionally, consider the order of printing. Some printers lay down ink in a specific sequence, which can affect how colors appear. If you have critical color matches, place those designs in the same area of the sheet to minimize variation.
Film Selection and Handling
The film you use plays a big role in how well your gang sheet performs. For mixed orders, a film with good dimensional stability and consistent coating is essential. Cheap films may have variations in thickness that cause uneven ink absorption, leading to color shifts. Invest in quality film from a reputable supplier, and store it in a controlled environment to prevent moisture damage.
Frequently Asked Questions
How do I determine the best spacing for mixed designs on a DTF Gangsheet?
Start with 0.125 inches (3 mm) as a baseline, but increase to 0.25 inches (6 mm) for designs with fine details or heavy ink coverage. Always test with a small batch to see how your printer handles the spacing.
Can I mix designs with different color profiles on one sheet?
It's not recommended. Convert all designs to the same color profile before arranging them. This ensures consistent color output and reduces the need for reprints.
What's the maximum number of designs I can fit on a gang sheet?
There's no fixed limit; it depends on design sizes and spacing. Focus on maintaining proper spacing and avoiding overcrowding rather than hitting a specific number.
How do I prevent colors from bleeding between adjacent designs?
Ensure adequate spacing and use a film with a good ink-receptive coating. Also, avoid placing designs with heavy ink saturation directly next to light ones without sufficient gap.
Should I group designs by color or by order?
Group by color to maintain consistency, but if you have multiple designs for the same order, group them together to simplify packing. Find a balance that works for your workflow.