
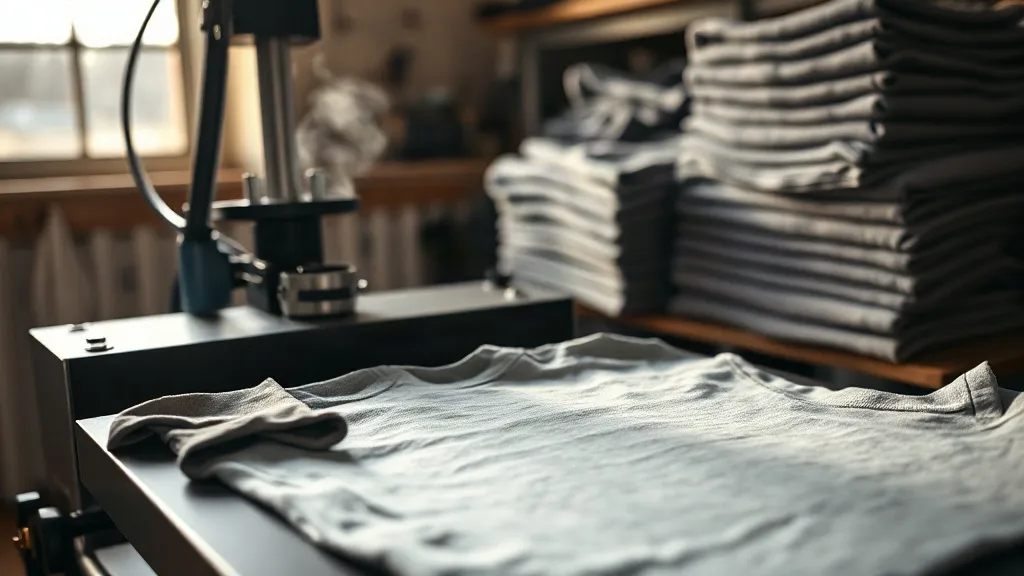
A few years back, a customer walked into our shop with a stack of heavyweight tees and a single request: put a full-color back print on them that would survive a summer of skate sessions and washing machines. We had printed on plenty of blanks before, but this order pushed us to look harder at how fabric weight and weave interact with DTF transfers. That order is why we started keeping shaka wear on the shelf as a regular option, and it is also why we learned a few things the hard way that are worth passing on.
This guide is not a product brochure. It is a working notes file from a shop that presses transfers every week, covering what actually matters when you pair Shaka Wear blanks with DTF film, how to dial in your press, and where the process tends to go wrong before it goes right.
Why heavyweight blanks change the DTF conversation
Most DTF troubleshooting advice online assumes a standard 5.3 oz cotton tee. Shaka Wear sits in a different weight class, and that difference shows up in every stage of the process. Heavier fabric absorbs heat differently, resists stretching during application, and holds a cured transfer with a slightly different hand feel than a lighter blank.
The upside is real. A heavier cotton face gives the adhesive a more stable surface, which means fewer wrinkles trapped under the film and fewer edges lifting after the first wash. The tradeoff is that you cannot simply copy your settings from a lightweight tee and expect the same result. The press needs more contact time or a touch more pressure to push the adhesive into a denser weave.
The weave matters more than the number on the label
Two blanks can both claim heavy weight and behave completely differently under a heat press. What you are looking for is a tight, consistent knit with minimal surface fuzz. Looser weaves trap air and create tiny pockets under the film, and those pockets are where you get the dreaded silvering effect, where the print looks dull or grayish because the adhesive did not fully bond.
Run your hand across the chest panel before you press anything. If the surface feels rough or hairy, a quick pre-press will smooth it down and knock off loose fibers. Skipping that step is one of the most common causes of a transfer that looks fine off the press and starts peeling a week later.
Setting up your press for Shaka Wear blanks
Exact numbers depend on your press, your film, and your powder, so treat the following as a starting point rather than gospel. What matters is understanding the logic so you can adjust with confidence.
- Pre-press the garment for 5 to 8 seconds at your transfer temperature. This removes moisture and flattens the weave.
- Peel the film while it is still warm unless your specific film calls for cold peel. Warm peel tends to work better on dense cotton because the adhesive is still flexible.
- Press again with a cover sheet for a few seconds after peeling. This second press is what locks the edges down and gives the print its final texture.
- Let the garment cool flat before folding. Folding a warm print can crease the ink permanently.
Pressure is the variable most people get wrong. Too light and the adhesive never reaches the fibers. Too heavy and you flatten the print, push adhesive beyond the ink edges, and create a stiff, shiny border around the design. Aim for firm, even pressure across the platen, and check that your press is actually level. A press that is off by a millimeter will show up as inconsistent bonding on a large back print.
Temperature and dwell time on dense cotton
On heavier cotton, we typically run a slightly longer dwell than we would on a standard tee. The extra seconds give heat time to penetrate the fabric surface rather than just the film. If you are seeing incomplete transfer, meaning patchy areas where the ink stayed on the film, increase dwell before you increase temperature. Cranking the heat too high is how you scorch the garment or cause the powder to over-cure and crack.
Laying out gang sheets for apparel runs
One of the quieter advantages of DTF is how efficiently you can fill a sheet. When you are printing a batch of Shaka Wear tees in mixed sizes, a DTF Gangsheet Builder lets you arrange every design, every size variant, and every placement on a single file before it goes to the printer. That saves film, saves powder, and cuts the number of press cycles you need to run.
Two layout habits pay off. First, leave consistent gaps between designs so your cutter has clean lines to follow and the powder does not migrate between jobs. Second, group designs by color density. Heavy ink coverage areas cure at a slightly different rate than light ones, and keeping similar jobs together makes it easier to judge your press settings at a glance.
Placement decisions that affect durability
Where you put the print matters as much as how you press it. On a heavyweight tee, the chest and back panels are the most stable surfaces. Prints that cross a side seam or sit low on the hem are more likely to distort, because those areas stretch and flex more during wear.
For full back prints, keep the top edge a comfortable distance below the collar seam. Too close and the collar's natural movement will start working at the print edge. For left chest logos, remember that a heavier blank sits differently on the body, so measure placement on an actual person or a dress form rather than eyeballing it flat on a table.
Sleeves and small details
Sleeve prints on Shaka Wear blanks are doable but need care. The sleeve is a curved, smaller surface, so use a pressing pillow or a dedicated sleeve platen to get even contact. Small text on sleeves is where you will notice registration problems first, so check a test press before committing to a full run.
Wash testing and what it tells you
Every new blank we bring in gets the same treatment: print a small test design, wash it five times, and inspect. On Shaka Wear blanks, a properly pressed transfer typically holds up well through repeated washing, with the main failure points being edges that were not fully bonded and prints that were peeled too cold.
Run your own test rather than trusting anyone's claim, including ours. Wash inside out, use a normal cycle, and skip the dryer on high heat for the test so you can isolate the print's performance from laundry variables. If the edges stay sharp after five cycles, your settings are solid and you can scale up with confidence.
Common mistakes we see in the shop
- Pressing on a wrinkled garment. Any wrinkle under the film becomes a permanent crease in the print.
- Peeling too early or too late. Follow your film's instructions precisely; the window is narrower than most people assume.
- Skipping the second press. This is the step that makes the difference between a print that lasts and one that lifts.
- Over-powdering. Excess powder creates a rough, plasticky feel and can leave a white halo around fine details.
- Storing finished garments stacked while warm. Let them cool and settle, or you will press creases into the ink.
Frequently asked questions
Do Shaka Wear blanks require different DTF settings than standard tees?
They usually need a slightly longer dwell time and firm, even pressure because the fabric is denser. Start with your standard settings, then add a few seconds of press time if you see incomplete transfer or lifting edges.
Can I DTF print on darker heavyweight tees without a white underbase?
Yes. DTF film already includes a white ink layer, so dark garments are not a problem. Just make sure your white layer is dense enough to prevent the garment color from showing through, especially on large solid areas.
How long should I wait before washing a freshly pressed DTF print?
Waiting at least 24 hours is a sensible habit, even though the print is technically cured once it cools. The extra time lets the adhesive fully settle into the fibers, which helps with long-term durability.
Is a gang sheet worth it for small orders?
It can be, if you plan ahead. Grouping multiple designs or size variants onto one sheet reduces waste and press cycles, which matters even on short runs. The DTF Gangsheet Builder makes that layout straightforward to prepare.
What causes a grayish or dull look on a finished DTF print?
That is usually silvering, caused by trapped air or incomplete bonding between the adhesive and the fabric. Pre-pressing the garment, ensuring even pressure, and using a proper second press are the most reliable fixes.
Final thoughts from the press
Choosing a blank is only half the job. The other half is understanding how that blank responds to heat, pressure, and time, and then building a repeatable process around it. Shaka Wear blanks reward that attention because their weight and construction give you a stable surface to work with, provided you treat the press settings with the same care you give your artwork.
Print a test piece, wash it, and look closely at the edges. That five-minute habit will teach you more about your setup than any settings chart, and it is the difference between a print that looks good in a photo and one that survives real life.