
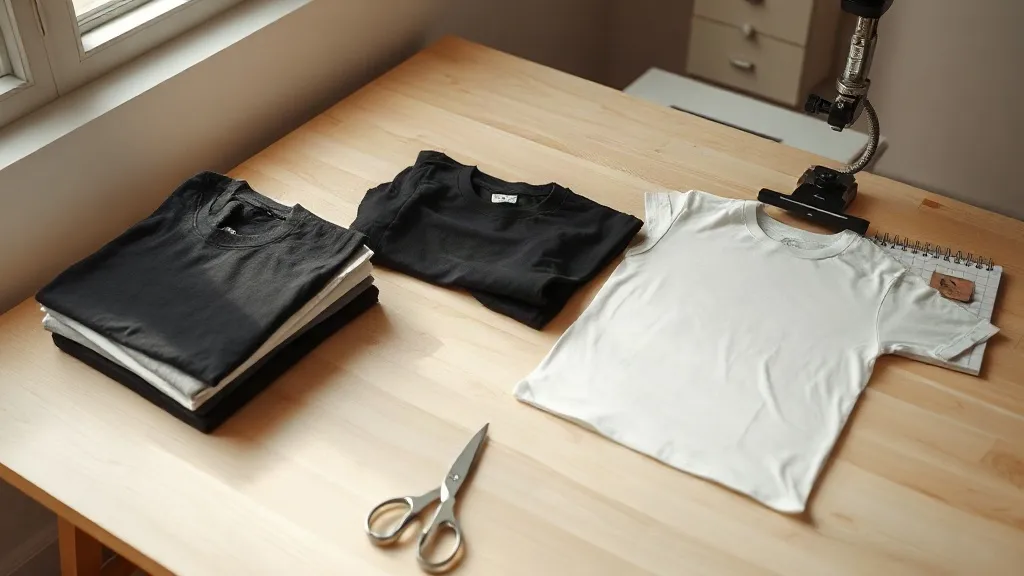
You can own the best DTF printer on the market and still ship a product that peels, cracks, or looks washed out after three cycles, because the shirt decides as much as the transfer does. That is the lesson most print shops learn the hard way, and it is exactly why shaka wear blanks keep showing up in the same conversations as heat press settings. The fabric is heavy, the hand is smooth, and the surface gives a DTF film something reliable to grab onto. This guide walks through how to choose the right Shaka Wear style for transfer work, how to dial in your press, and how to plan gang sheets so you waste less film per order.
Why Fabric Choice Decides DTF Durability
A DTF transfer is a layer of pigment ink bonded to a thermoplastic polyurethane film, and that film has to anchor to the garment. On a loose, hairy, or heavily brushed surface, the adhesive grabs thread tips instead of the fabric body. The print looks fine out of the press and then starts to lift at the edges after the first wash. Dense, tight-knit cotton gives the adhesive a flat, consistent surface, which is why heavyweight ring-spun blanks are the safer bet for transfer work.
Shaka Wear sits in that heavyweight category. Their core tee runs around 6.5 to 7 ounces depending on the style, with a tight knit and a smooth face. In practice, that means fewer press-and-peel surprises and a print that survives repeated laundering. If you have been pressing onto thin, slubby blanks and blaming your film, try one heavyweight tee on the same settings and compare the peel test. The difference is usually obvious within a minute of pulling the carrier.
Thread Count and Surface Texture
Run a finger across the chest of a blank before you buy in bulk. A surface that feels slightly smooth with minimal fuzz is ideal. Heavily brushed fleece and looped terry are a different story: the adhesive has to reach past the pile, so you need more pressure and often a longer dwell. Shaka Wear fleece works for DTF, but treat it as a separate recipe rather than reusing your tee settings.
Shrinkage and Print Placement
Cotton shrinks, and shrinkage moves your artwork. If a customer washes a tee hot and the body pulls up a centimeter, a chest print that sat perfectly centered now looks high. Pre-shrunk heavyweight blanks reduce that drift. For multi-panel designs, measure placement from the collar seam rather than the shoulder, then check a washed sample before you commit a full run.
Matching Shaka Wear Styles to the Job
Not every order wants the same silhouette. Retail-facing brands, team uniforms, and promotional runs each pull toward different weights and fits, and Shaka Wear covers enough ground to serve all three without switching suppliers.
- Heavyweight crew tees: the default for retail and streetwear drops. Dense enough for large front and back panels, and opaque enough that a white underbase is rarely needed on light garments.
- Oversized and boxy fits: popular for drop-shoulder graphics. Check that your press platen supports the wider body without the seams riding up into the heat zone.
- Long sleeves and hoodies: higher-margin items where a clean transfer matters most. Sleeve prints need a narrow platen and careful positioning so the print sits straight when the arm hangs down.
- Youth and smaller sizes: scale artwork down rather than shrinking a full-size file, or the line weights will fill in.
One practical note on color: black and dark navy garments hide minor edge lift better than white or heather grey, but they also show adhesive residue if your peel temperature is off. White tees are unforgiving, which makes them a good test garment when you are dialing in a new film batch.
Press Settings That Actually Hold Up
Manufacturer recommendations vary, so treat any number below as a starting point and confirm with your film supplier. The variables that matter are temperature, pressure, dwell time, and peel temperature.
- Pre-press the garment for a few seconds to drive out moisture. Trapped dampness turns to steam under the transfer and causes blisters and poor adhesion.
- Press the transfer at roughly 300 to 320 degrees Fahrenheit for 10 to 15 seconds with firm, even pressure. Medium-firm is usually enough on a heavyweight tee; you want contact, not a crushed seam.
- Peel cool or cold unless your film specifies hot peel. Cooling lets the adhesive set before you pull the carrier, which reduces stretching at the edges.
- Post-press for 5 to 10 seconds with a cover sheet or parchment to lock the print into the fabric texture.
Pressure is the setting people get wrong most often. Too little and the adhesive never fully contacts the knit; too much and the print flattens into the weave and looks dull. If you can see the fabric texture pressing through the transfer, back off slightly.
Wash Testing Without Wasting Shirts
Keep a wash log. Print a small test square on the same blank you plan to use, then run it through five home wash cycles, inside out, and check the edges after each one. Note the film batch, press temperature, and peel method next to the result. After a few orders you will have a record that tells you exactly which combination holds on which fabric, and you stop guessing when a new film roll arrives.
Planning Gang Sheets Around Shaka Wear Sizes
The economics of DTF live or die on film utilization. A DTF Gangsheet Builder lets you lay out multiple designs on a single sheet, which matters more than most shops realize when an order mixes sizes. A run of twelve tees in three sizes still needs twelve prints, but the artwork can be nested tightly if you plan the sheet before you press a single shirt.
A few habits that cut waste:
- Group jobs by film width rather than by customer, so small logos fill the gaps around large back panels.
- Keep a running file of repeat designs at their true print size so you can drop them in without rescaling.
- Leave a small bleed margin around each design; trimming too tight risks nicking the print edge.
- Nest by color where possible. White ink laydowns cost more, so cluster designs that need a white underbase.
Size scaling deserves its own check. A design that looks right on a medium chest can overwhelm a small, and the same file on an oversized fit may sit too low. Build size-specific versions of your best sellers once, label them clearly, and reuse them instead of rescaling on the fly.
Common Mistakes That Cost Print Shops Money
Most failures trace back to a handful of repeat offenders. Pressing a wrinkled shirt traps heat unevenly and produces a patchy bond, so always press the garment flat first. Stacking finished shirts while they are still warm can cause the print to stick to the shirt above it, so let pieces cool on a rack. And reusing a carrier film that has already been peeled is never worth it, no matter how small the design.
Storage matters too. DTF film is sensitive to humidity, and a roll left open in a damp room will press inconsistently. Keep film sealed, store garments dry, and rotate stock so older film gets used first. None of this is glamorous, but it is the difference between a shop that reprints and one that does not.
Frequently Asked Questions
Can you apply DTF transfers to 100 percent cotton Shaka Wear tees?
Yes. Cotton is one of the most forgiving surfaces for DTF because the tight knit gives the adhesive a stable base. Heavyweight cotton actually performs better than many blends, provided the garment is pre-pressed to remove moisture and the transfer is peeled after cooling.
Do I need a white underbase when printing on dark Shaka Wear shirts?
DTF film already includes a white ink layer behind the color, so you do not apply a separate underbase the way you would in screen printing. The white layer is built into the transfer, which is why DTF works on black and navy garments without extra steps.
How many washes should a DTF print on a heavyweight tee survive?
With correct pressure, temperature, and a cool peel, a well-applied transfer on a dense cotton blank typically holds up through dozens of home wash cycles. Results depend on the film, the wash temperature, and whether the garment is turned inside out, so test your own combination rather than relying on a single number.
What is the best way to press a large back print on an oversized tee?
Use a platen wide enough to support the full body so seams do not ride into the heat zone, and position the print from the collar seam down. Press in one pass if the platen allows it, or use a slightly lower temperature with a longer dwell if you must work in sections.
How do I reduce film waste when an order mixes several sizes?
Nest designs on a single sheet by width and cluster white-heavy artwork together. Keeping labeled, true-size versions of repeat designs on hand means you can fill gaps with small logos instead of leaving unused film at the edge of every sheet.
Get the blank right and the transfer has a fair chance. Get it wrong and no amount of press tweaking will save the order. Start with one heavyweight tee, one test square, and a wash log, and let the results tell you which combination belongs in your standard workflow.