
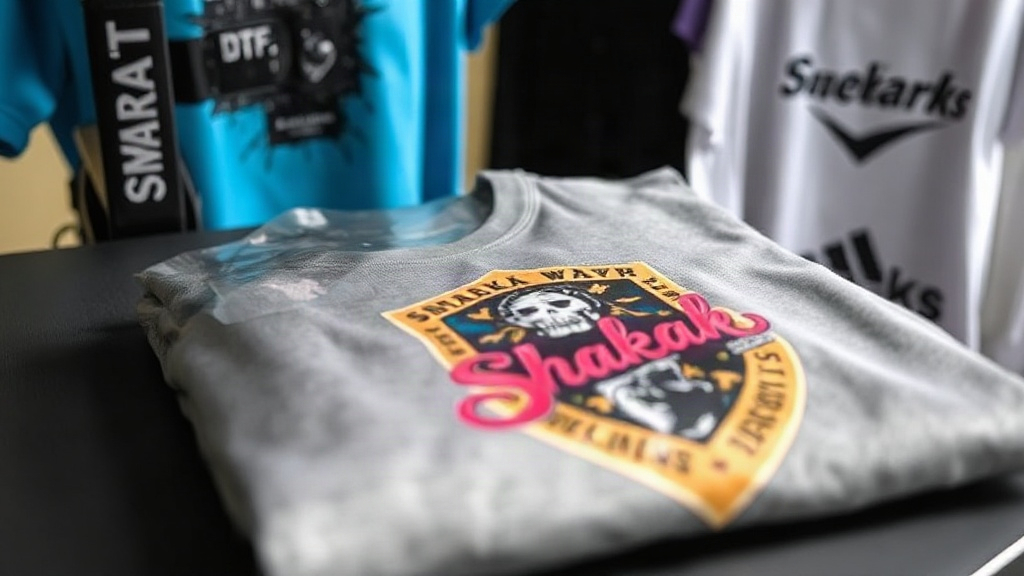
When you first start working with DTF transfers, the excitement of pressing a design onto a blank shirt quickly meets reality: not all blanks behave the same. I learned this the hard way after ruining a dozen Shaka Wear tees because I treated them like any other cotton shirt. The truth is, DTF transfers demand a nuanced approach, especially when you are dealing with heavyweight fabrics like those from Shaka Wear or the consistently reliable Smart Blanks. This guide distills what I have learned from countless press cycles, so you can avoid the mistakes I made and get professional results every time.
Why DTF Transfers Are a Game-Changer for Blanks
Direct-to-film printing has exploded in popularity for good reason. Unlike vinyl or screen printing, DTF transfers allow you to print full-color, photographic-quality images onto a wide range of fabrics without the setup costs of screens or the limitations of cutting vinyl. You can produce a single shirt or a hundred with the same effort. The transfers are flexible, durable, and can stretch with the fabric, which makes them ideal for high-quality blanks that move with the body.
But here is the catch: the quality of your final product depends heavily on the blank you choose and how you prepare it. That is where Shaka Wear and Smart Blanks come into play. Both are popular choices among printers, but they have distinct characteristics that affect how DTF transfers adhere and feel.
Understanding Shaka Wear Blanks
Shaka Wear is known for its heavyweight, streetwear-inspired tees. Their 7.5 oz cotton shirts are a favorite for urban brands because they hold their shape, have a substantial hand feel, and provide a great canvas for bold graphics. However, that heavyweight cotton can be a double-edged sword for DTF transfers. The fabric’s tight weave and thickness mean you need to manage heat and pressure carefully to get the adhesive to penetrate without scorching the shirt.
Preparing Shaka Wear for DTF
Before you even think about pressing, pre-press the shirt for 3-5 seconds at 320°F (160°C) to remove moisture and wrinkles. This step is non-negotiable with Shaka Wear because their cotton tends to hold moisture from shipping and storage. Skipping it often leads to poor adhesion and premature peeling. I also recommend using a lint roller to remove any fibers; even a tiny speck can create a bubble under the transfer.
Pressing Settings for Shaka Wear
For Shaka Wear tees, set your heat press to 320°F (160°C) with medium-heavy pressure (around 5-6 on a 1-10 scale). Press for 15 seconds. Because the fabric is thick, you might need to add 2-3 seconds to ensure the adhesive fully cures. Always use a Teflon sheet or parchment paper over the transfer to protect it from direct heat. After pressing, peel the film while it is still warm (within 5-10 seconds). If you wait too long, the adhesive can set and cause the film to tear.
Common Pitfalls with Shaka Wear
The biggest mistake I see is under-pressing. Shaka Wear shirts are dense, so the heat needs time to reach the adhesive layer. If your transfer peels after a few washes, it is likely because the adhesive did not fully melt into the fabric. Another issue is over-stretching the shirt when loading it onto the press; this can distort the weave and cause the transfer to crack later. Keep the shirt flat and smooth.
Working with Smart Blanks
Smart Blanks are a different beast altogether. They are known for their consistent quality, soft hand, and wide range of colors. Many printers prefer Smart Blanks for retail-ready apparel because they are pre-shrunk and have a smooth surface that accepts DTF transfers beautifully. However, their lighter weight (often around 4.5 oz) means you need to adjust your pressing parameters to avoid scorching or over-pressing.
Preparing Smart Blanks for DTF
Just like with Shaka Wear, pre-press Smart Blanks for 3-5 seconds to remove moisture. Because they are lighter, you can use slightly less pressure. I also recommend checking for any fabric softener or sizing that might be on the shirt from the manufacturer. Some Smart Blanks come with a finish that can interfere with adhesion. If you notice the transfer not sticking, a quick wipe with a mixture of water and mild detergent before pressing can help.
Pressing Settings for Smart Blanks
Set your press to 310°F (155°C) with medium pressure. Press for 12-15 seconds. The lower temperature is crucial because the thinner fabric can scorch easily. Use a Teflon sheet and peel the film warm. If you are working with a polyester blend Smart Blanks (some models are 50/50), lower the temperature to 300°F (150°C) to prevent dye migration. Dye migration is a common issue with polyester; the dye can sublimate into the transfer, dulling the colors. Using a low-temperature DTF transfer or a barrier layer can help.
Common Pitfalls with Smart Blanks
Over-pressing is the enemy here. I have seen many Smart Blanks come out with a shiny, scorched mark because the press was too hot or left too long. Always test with a scrap piece first. Another issue is the transfer not stretching with the fabric; if you use too much pressure, the adhesive can squeeze out and create a stiff feel. Aim for a balance that embeds the adhesive without flattening the fabric.
Step-by-Step DTF Application on Both Blanks
Here is a streamlined process that works for both Shaka Wear and Smart Blanks, with adjustments noted:
- Pre-press: 3-5 seconds at 320°F (Shaka Wear) or 310°F (Smart Blanks) to remove moisture.
- Position: Place the DTF transfer on the shirt. Use a ruler or laser guide for alignment.
- Press: 15 seconds at 320°F for Shaka Wear; 12-15 seconds at 310°F for Smart Blanks. Use medium-heavy pressure for Shaka Wear, medium for Smart Blanks.
- Peel: Wait 5-10 seconds, then peel the film warm. If it resists, let it cool completely and try again; sometimes a cold peel works better for certain films.
- Post-press: For extra durability, cover the transfer with parchment paper and press again for 5 seconds. This ensures the adhesive fully cures.
I keep a notebook with settings for each blank type and film brand. It might seem tedious, but it saves time and material in the long run.
Choosing the Right DTF Transfer for Your Blank
Not all DTF transfers are created equal. The quality of the film, ink, and adhesive powder matters. For Shaka Wear, I prefer transfers with a thicker adhesive layer because they bond better with heavyweight cotton. For Smart Blanks, a thinner, more flexible transfer works well to maintain the soft hand. If you are printing on dark colors, make sure your transfer includes a white ink base; otherwise, the colors will look muted.
Another consideration is the size of the transfer. Large, solid designs can feel heavy on lighter Smart Blanks, while Shaka Wear can handle bigger graphics without losing drape. Test different sizes to see what works for your brand.
Washing and Care Tips
To keep your DTF transfers looking great, advise your customers to wash inside out in cold water and tumble dry low. Avoid fabric softener and bleach, as they can break down the adhesive. For Shaka Wear and Smart Blanks, following these care instructions will extend the life of the print significantly. I have shirts that have gone through 50+ washes and still look vibrant.
Frequently Asked Questions
Can I use DTF transfers on 100% polyester Shaka Wear shirts?
Yes, but you need to adjust your settings. Polyester requires lower temperatures (around 280-300°F) to prevent dye migration. Use a low-temperature DTF film and consider a poly-friendly adhesive powder. Always test on a scrap first.
How do I prevent the transfer from peeling off Smart Blanks after washing?
Peeling usually means the adhesive did not fully cure. Increase your press time by 2-3 seconds or ensure your pressure is even. Also, pre-press the shirt to remove moisture, as trapped moisture can prevent proper bonding.
What is the best peel method for DTF transfers on Shaka Wear?
Warm peel works best for most films on Shaka Wear. Wait about 5-10 seconds after pressing, then peel in a smooth, continuous motion. If the film feels stuck, let it cool completely and try a cold peel.
Do I need a special heat press for DTF transfers?
Any heat press that can maintain consistent temperature and pressure will work. A clamshell or swing-away press is fine. Just make sure you can adjust the pressure and temperature accurately. For best results, use a press with a digital controller.
How can I avoid scorching Smart Blanks when pressing DTF transfers?
Lower the temperature to 310°F or below and use a Teflon sheet. Also, avoid over-pressing; 12-15 seconds is usually enough. If you smell burning, stop immediately and reduce the temperature.
Mastering DTF transfers on Shaka Wear and Smart Blanks takes practice, but once you dial in your settings, you will be able to produce retail-quality apparel that withstands the test of time. Remember, the blank is not just a canvas; it is a partner in the process. Treat it with respect, and it will reward you with prints that pop.