
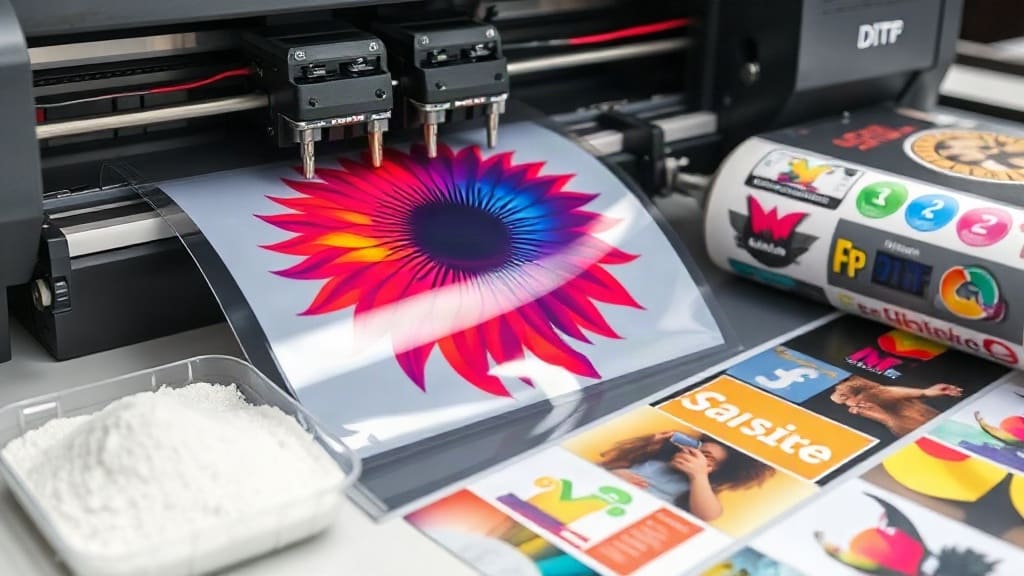
DTF transfers have taken the custom apparel world by storm, offering a versatile and cost-effective way to create vibrant designs on various fabrics. If you're new to this technology, you might be wondering: How does it actually work? This guide breaks down everything you need to know, from the essential materials to the step-by-step process, and provides practical tips to achieve professional-looking results.
What Are DTF Transfers?
DTF stands for Direct to Film. It's a printing method where your design is printed onto a special PET film using a DTF printer and pigmented inks. The printed film is then coated with a hot-melt adhesive powder, which is melted to create a strong bond. Once cured, the transfer can be stored and later applied to fabric using a heat press.
Unlike other methods, DTF transfers work on a wide range of materials, including cotton, polyester, blends, and even denim. This flexibility makes them a favorite among small business owners and hobbyists alike.
Essential Materials for DTF Transfers
To produce quality DTF transfers, you'll need a few key components:
- DTF Printer: Usually an Epson or similar inkjet printer modified for DTF, with a dedicated ink system.
- DTF Inks: Specially formulated pigment inks, including white ink, which is crucial for printing on dark fabrics.
- PET Film: A special transparent film that accepts the ink and powder.
- Hot Melt Adhesive Powder: A fine powder that activates under heat, bonding the design to fabric.
- Heat Press: A machine that applies heat and pressure to transfer the design.
- Curing Oven or Dryer: Used to melt the powder initially and ensure it adheres properly.
Step-by-Step Process of How DTF Transfers Work
Understanding the process is key to mastering DTF transfers. Let's walk through each stage.
1. Designing Your Artwork
Start by creating or selecting a design using graphic software. Keep in mind that the printed image will be a direct transfer, so you don't need to mirror the design for DTF (unlike sublimation), but it's always good to double-check your printer settings. Ensure your design has proper color separation, especially if it includes white underbase.
2. Printing the Film
Load the PET film into your DTF printer. Print your design with the correct color profile. The printer lays down a layer of white ink first (if your design requires it), then the colored inks on top. This white layer acts as an underbase, making colors pop on dark garments.
3. Applying the Adhesive Powder
While the ink is still wet, cover the printed area with hot melt adhesive powder. You can do this by sprinkling the powder over the film or using a powder shaker. Ensure an even, thorough coverage. Then, remove the excess powder by tilting the film and tapping it off.
4. Curing the Powder
The next step is to cure the powder. Place the film in a curing oven or use a heat press with a low-temperature setting (around 160-180°F) for about 30-60 seconds. This melts the powder slightly, making it bond to the ink. Be careful not to overheat, as it may cause the powder to bubble or the film to warp.
5. Cutting and Storing the Transfer
Once cured, you can cut out your transfers. You can trim them individually or keep them on a roll. If you're not applying them immediately, store them in a cool, dry place. The adhesive side should be protected to avoid dust contamination.
6. Pressing the Transfer onto Fabric
When you're ready to apply, preheat your heat press to the recommended temperature (typically 300-320°F for DTF). Place the transfer on your garment with the film side up. Press with medium to firm pressure for about 15-20 seconds. Then, peel the film while it's still hot or after a brief cool-down, depending on the type of film. For most DTF films, hot peel is recommended.
Tips for Perfect DTF Transfers Every Time
Here are some practical tips to improve your DTF transfers results:
- Use high-quality materials; cheap films and powders can lead to poor adhesion and cracking.
- Maintain your printer regularly, as DTF inks can clog nozzles quickly.
- Always test on a sample fabric before running a full batch, especially when changing fabrics or settings.
- When pressing, ensure even pressure and use a Teflon sheet to protect your heat press and the transfer.
- For stretchy fabrics, consider using a stretchable DTF film and powder to prevent cracking.
Common Mistakes and How to Avoid Them
Even experienced printers encounter issues. Here are some common problems and solutions:
Powder Not Sticking Properly
If the powder falls off after curing, it's likely because the ink dried before you applied the powder. Work quickly, or use a mist of water to re-wet the ink before powdering.
Colors Look Dull or Washed Out
This can be due to insufficient white ink underbase or incorrect color settings. Make sure your white layer is opaque enough and that you're using the right ICC profile for your printer.
Film Peels Off After Washing
Poor adhesion can be caused by under-curing the powder or pressing at too low a temperature. Ensure you're following the recommended curing and pressing parameters.
Applications of DTF Transfers
DTF transfers are incredibly versatile. They work well on t-shirts, hoodies, tote bags, and even hats. Because they don't require a special coating on the fabric, they're a great option for on-demand printing and small batches. Businesses appreciate the ability to print multiple designs quickly and store them for later use.
Frequently Asked Questions About DTF Transfers
Can DTF transfers be used on dark colored shirts?
Yes, absolutely. The white ink underbase ensures that the colors appear vivid on dark fabrics. Just make sure your design includes a white layer where needed.
How many washes do DTF transfers last?
With proper application and care, DTF transfers can last for many washes. They are known for their durability, often outlasting screen prints when applied correctly. Washing inside out in cold water and avoiding harsh detergents will extend the lifespan.
Do I need a special printer for DTF transfers?
Yes, you need a printer that is compatible with DTF inks, usually a modified inkjet printer with a pigment ink system. Using a regular printer will not yield the same results.
Can I make DTF transfers at home?
Yes, you can set up a home DTF station with a small printer, heat press, and the necessary materials. It's a great way to start a small business or explore custom apparel as a hobby.
What is the difference between DTF and sublimation?
Sublimation requires polyester fabrics and works best on light-colored items, while DTF works on a wider range of fabrics, including cotton. DTF also produces a softer hand feel compared to some sublimation prints.
Conclusion
Now that you understand how DTF transfers work, you're ready to dive into the world of custom printing. With the right equipment and a bit of practice, you'll be creating stunning, durable designs in no time. Remember, the key is to control each step: from precise printing to even powder application and proper pressing. So, gather your materials and start experimenting. Your next custom creation is just a press away!