
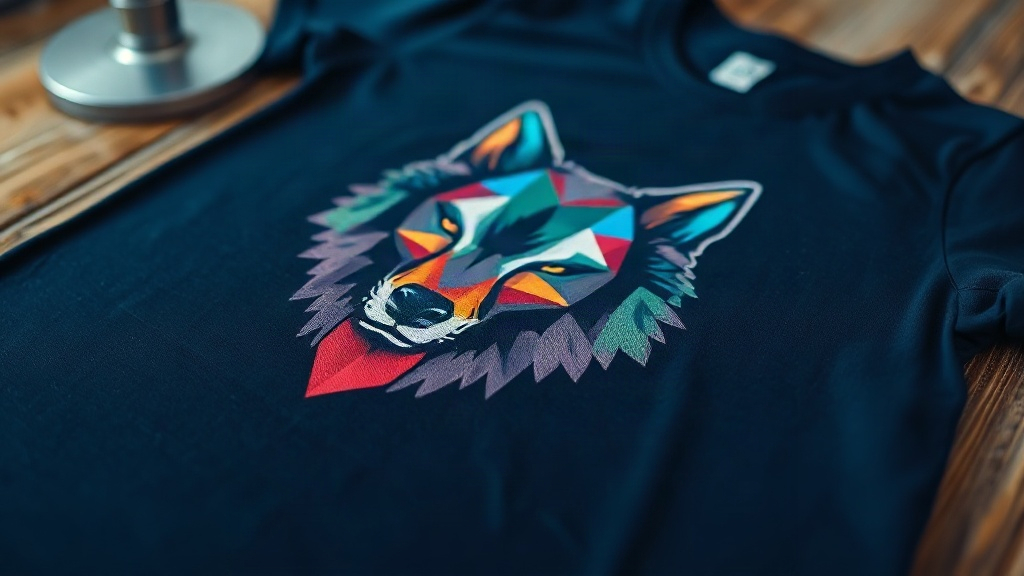
When you first venture into the world of DTF printing, you quickly discover that not all fabrics are created equal. While light-colored garments often behave predictably, dark fabrics present a unique set of challenges that can make or break your final product. Whether you're a seasoned screen printer looking to expand your offerings or a newcomer eager to master this versatile technology, understanding how to optimize DTF for dark substrates is essential. In this guide, we'll walk through the entire process, from selecting the right materials to troubleshooting common pitfalls, so you can produce prints that pop with color and stand up to real-world wear.
Why DTF Excels on Dark Fabrics
Traditional heat transfer methods often struggle with dark garments because the base color can dull or alter the appearance of the transferred design. DTF printing, however, uses a unique approach: the design is printed onto a special film, coated with a hot-melt adhesive powder, and then heat-pressed onto the fabric. This process creates a strong bond and allows for a white ink layer that acts as a base, ensuring colors remain vibrant and true regardless of the fabric's original hue. This makes DTF particularly effective for dark cottons, blends, and even synthetic materials that might otherwise repel other types of inks.
Another advantage is the ability to print full-color, photographic-quality images without the need for separate screens or color separations. This flexibility opens up a world of creative possibilities, from intricate logos to detailed artwork, all while maintaining excellent durability. The adhesive powder also contributes to a soft hand feel, which is often a concern with other transfer methods that can leave a thick, plastic-like layer on the garment.
Key Considerations for Dark Fabric Success
Color Management: Beyond the Screen
What you see on your monitor is rarely what you get on a dark shirt. The brightness of your screen can mislead you into thinking a color will be more vibrant than it actually appears on fabric. To avoid disappointment, always rely on physical color proofs. Print a small test patch on the same dark fabric you plan to use, and evaluate the colors under different lighting conditions. Adjust your design's color profiles accordingly. In many cases, you may need to increase saturation or add a slight outline to ensure the design doesn't get lost against the dark background.
Additionally, remember that the white ink layer in DTF printing is crucial. It acts as a foundation, so if it's too thin, the dark fabric will show through and muddy the colors. If it's too thick, the print may feel stiff. Finding the right balance is key. Experiment with your printer's settings to control the white ink density, and consider using a RIP software that allows for precise control over ink limits.
Choosing the Right Film and Powder
Not all DTF films are created equal. For dark fabrics, you'll want a film that offers excellent ink absorption and release properties. A high-quality film will hold the white ink layer evenly and release cleanly during transfer, preventing pinholes or uneven coverage. Look for films specifically designed for dark garments, as they often have a slightly different coating that enhances opacity.
The adhesive powder you use also plays a significant role. A fine, consistent powder ensures a smooth, even bond without clumping. Some powders are formulated for better elasticity, which is important if the garment will stretch during wear. Always follow the manufacturer's recommendations for powder application and curing, as under- or over-curing can lead to poor wash durability.
Heat Press Settings: The Sweet Spot
Heat press parameters are critical for DTF transfers on dark fabrics. Too little heat or pressure, and the transfer won't adhere properly; too much, and you risk scorching the fabric or causing the design to crack. As a starting point, aim for a temperature of 160°C (320°F) and a pressure of medium to firm. Press for 10-15 seconds, then peel the film while it's still warm (warm peel) or after it cools (cold peel), depending on the film's instructions. Always test on a scrap piece of fabric first, as different materials may require slight adjustments.
For dark fabrics, pre-pressing the garment for a few seconds to remove moisture and wrinkles is also recommended. This step helps the transfer adhere more uniformly and prevents steam from creating bubbles under the design.
Step-by-Step DTF Printing on Dark Fabrics
- Prepare your design: Ensure your artwork is in a high-resolution format, preferably with a transparent background. Add a white underbase if necessary, but in DTF, the printer automatically handles the white layer. However, you should check that the white layer is set to print behind all colored areas.
- Print on film: Load your DTF film into the printer, ensuring it's the correct side up. Print the design using your printer's recommended settings for dark garments. This typically involves printing the white ink first, followed by CMYK.
- Apply adhesive powder: While the ink is still wet, generously sprinkle the hot-melt powder over the printed area. Shake off the excess and return it to the container for reuse. Ensure an even coating.
- Cure the powder: Place the film in a curing oven or under a heat source to melt the powder. The powder should turn from a matte white to a glossy, clear finish. This usually takes 2-3 minutes at around 160°C (320°F).
- Heat press the transfer: Position the film onto the dark fabric with the design facing up. Press at the recommended temperature and pressure for the specified time. Peel the film off either warm or cold as per the film's instructions.
- Post-press (optional): For added durability, you can press the design again for a few seconds with a protective sheet over it. This helps the adhesive fully bond with the fabric fibers.
Troubleshooting Common Issues
Even with the best practices, issues can arise. Here are some common problems and their solutions:
- Colors appear dull or washed out: This often indicates insufficient white ink or incorrect color profiles. Increase white ink density and recalibrate your color settings. Also, ensure the fabric is clean and free of fabric softeners, which can repel ink.
- Design peels after washing: This is usually due to under-curing of the adhesive powder or insufficient pressure during heat press. Increase curing time or temperature, and check that your press is applying even pressure. Also, ensure you're using the correct powder for the fabric type.
- Cracking in the design: Cracking can occur if the transfer is stretched beyond its elasticity. Use a more elastic powder and film, and avoid over-stretching the garment when wearing or washing. Additionally, ensure the design isn't too thick; a thinner ink layer can flex better.
- Film doesn't release cleanly: This can happen if the film is peeled at the wrong temperature. Try warm peel if you were cold peeling, or vice versa. Also, check that the film is compatible with your ink and powder.
Best Practices for Long-Lasting Prints
To ensure your DTF prints on dark fabrics withstand the test of time, follow these guidelines:
- Wash garments inside out in cold water with mild detergent.
- Avoid using bleach or fabric softeners, as they can degrade the adhesive.
- Tumble dry on low heat or hang dry. High heat can cause cracking.
- Iron on the reverse side only, never directly on the print.
- Store garments properly to avoid unnecessary stretching or abrasion.
Frequently Asked Questions
Can I use DTF printing on 100% polyester dark fabrics?
Yes, DTF printing works well on polyester, but you need to adjust your heat press settings. Polyester is sensitive to high temperatures, so lower the temperature to around 140°C (285°F) and test with a small piece first. Also, use a low-melt powder to prevent the adhesive from becoming too rigid.
How do I prevent the white ink from looking grainy on dark shirts?
Grainy white ink usually results from insufficient ink coverage or a clogged printhead. Ensure your printer is well-maintained and perform regular nozzle checks. Increase the white ink density in your RIP software, and consider using a higher-quality film that promotes better ink absorption.
What is the best way to store DTF films before use?
Store DTF films in a cool, dry place away from direct sunlight. Keep them in their original packaging or in a sealed bag to prevent dust and moisture from affecting the coating. Avoid bending or creasing the films, as this can cause printing defects.
How long should I wait before washing a DTF-printed garment?
It's best to wait at least 24 hours after pressing before washing. This allows the adhesive to fully cure and bond with the fabric. For maximum durability, wait 72 hours. Always follow the care instructions provided with your film and powder.
Can I layer DTF transfers on dark fabrics?
Layering is possible but tricky. You'll need to press the first layer, then apply the second layer on top, ensuring proper alignment. Use a lower temperature for the second press to avoid re-melting the first layer. It's often easier to design the artwork as a single transfer with multiple colors rather than layering separate transfers.
Mastering DTF printing on dark fabrics opens up a lucrative market for custom apparel. With the right techniques and attention to detail, you can deliver prints that not only look stunning but also withstand the rigors of daily use. Remember, practice makes perfect, so don't hesitate to experiment with different settings and materials until you find what works best for your setup.